> For the complete documentation index, see [llms.txt](https://docs.hidemyacc.com/llms.txt). Markdown versions of documentation pages are available by appending `.md` to page URLs; this page is available as [Markdown](https://docs.hidemyacc.com/5.-proxy-manager/5.1.-proxy-manager.md).
# 5.1. Proxy Manager
With Proxy Manager, when creating a new profile in Hidemyacc, you can select a proxy from the managed pool to add to that profile. You can also add proxies in bulk to profiles you've already created.
#### ⚙️ Add proxies to Proxy Manager
To add a proxy to Proxy Manager, follow these steps:
**Step 1:** Select "Add proxy."
**Step 2:** Fill in the proxy's fields.
* **`Proxy type`:** HTTP, Socks4, or Socks5.
* **`Proxy list`:** Add proxies in the format IP:Port:Username:Password. If adding multiple proxies at once, put each proxy on its own line.
* **`Tags`:** You can group these proxies by attaching tags to them, making them easier to find by tag.
* **`Proxy expiration date`:** You can add an expiration date for the proxy as a reminder to renew it.
* **`Add notes`** (if needed) for the proxy.
**Step 3:** Click **"Add"** to finish.
### ⚙️ Mangae proxies in Proxy Manager
You can check the activity status of proxies by selecting all and clicking **"Check Proxy".** The system will automatically verify their status.
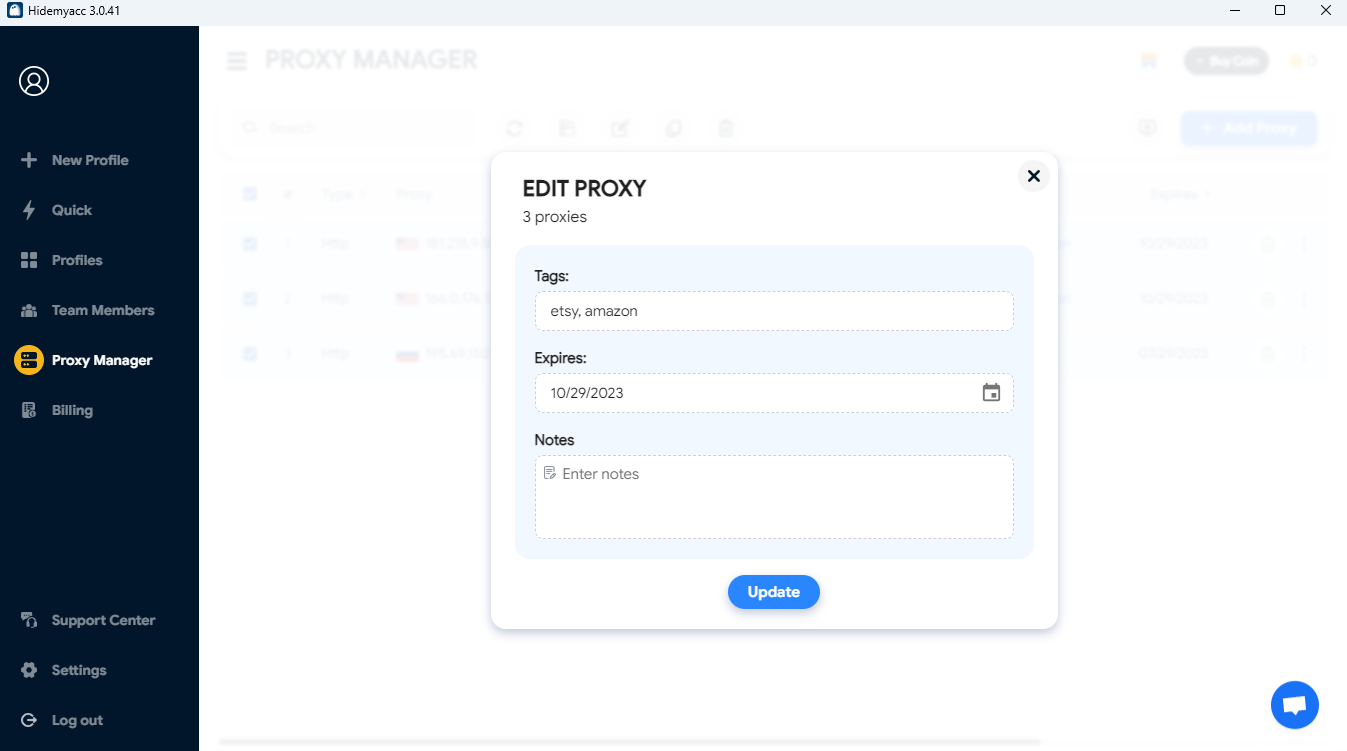
In the **"Edit Proxies"** section, you can quickly modify tags, expiration dates, and notes for proxies.
Firstly, click om Edit proxies icon
Select **"Copy proxy"** to quickly copy all the proxies.
You can **delete one or multiple proxies** by choosing them and click on button Delete. Please note that deleted proxies cannot be recovered, so carefully check the proxies before deleting to avoid regrettable situations.
### ⚙️ Add proxy from Proxy Manager to profiles
#### **When creating new profiles**
**Step 1**: In Proxy section, choose Proxy Manager icon
**Step 2:** The popup screen will appear showing all the proxies you added in Proxy Manager. Then click on the proxy you want to add in this profile.
#### **Adding to an existing profile**
**Step 1:** Choose the profiles you want to add proxies
**Step 2:** Click on **Add Proxy** button
**Step 3:** Click on Proxy Manager icon
**Step 4:** Choose the proxies you want to add in these profiles. Then click **Add** to complete the process.